Frequently Asked Questions

I have an Electric Brake Trailer. How can I test the Brake Away Switch (BAS) and Battery?

A: Disconnect the trailer nose harness from the truck. Pull the pin from the BAS and try to move the trailer. If the brakes are locked, your BAS and battery are working correctly.

I have an Air Brake Trailer. What type of Brake Shoes are on my trailer?

A: All Lowboys have Dana-Spicer ‘Quick Fit’ Style Shoes. For Tags, please see the Tag Air Brake Shoe Identification chart.

I have an Air Brake Trailer. What type of Brake Chambers are on my trailer?
I am getting an intermittent ABS Sensor error. The Sensors and Wiring are fine and I think the problem is too much bearing end play. What are the specifications for setting bearing end play, including axle nut torque and wheel end lubrication specifications?

A: The answer varies slightly by axle manufacturer and capacity. Use the appropriate document as follows:
1. Dana-Spicer D22 Axle (all lowboys and many 20 – 25 Ton Tags)
2. Dexter D225 Axle (many 20-25 Ton Tags)
3. Dexter 10-12K Axle (all 10 Ton and 12 Ton Tags)

Where can I get a complete Maintenance Manual, including ABS Sensor Voltage Test procedure, for all of the Meritor Wabco ABS components installed on my trailer?

A: For trailers manufactured after 2001 with a 400 Series ECU, use MM-0180. For trailers manufactured between 1998 and 2001 with a 472 Series ECU, use MM-33.

I ran the Blink Test and received a YE or BU sensor error code. Is there a schematic that shows which wheel end is YE1, YE2, BU1, and BU2?

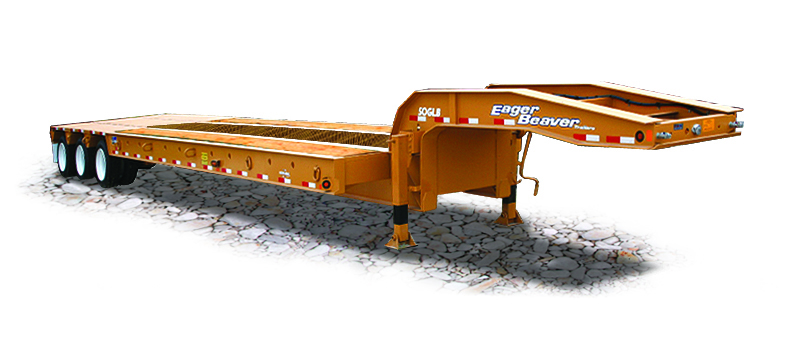
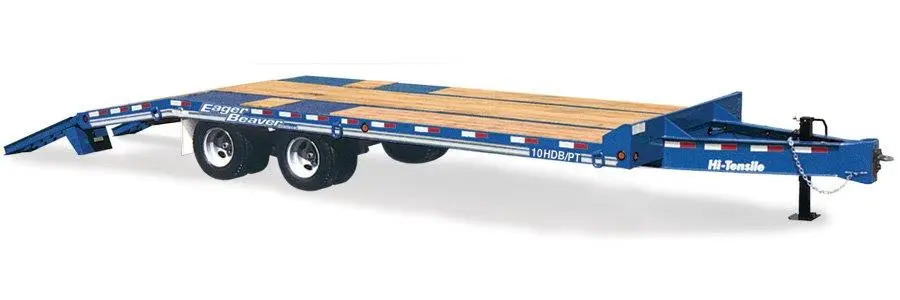
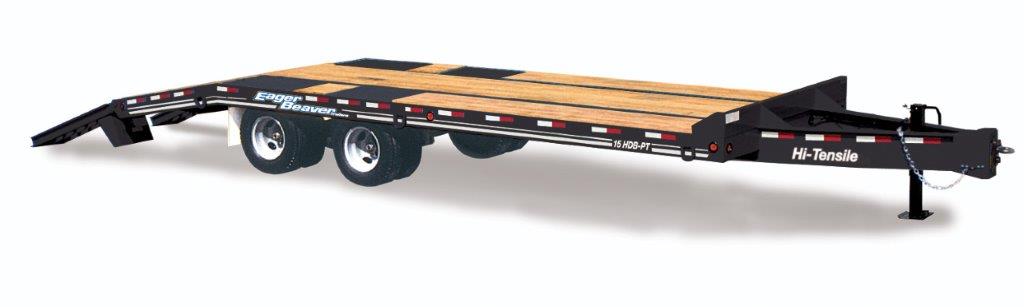
A: Yes, select the appropriate schematic for your trailer (tag is a pintle hitch pull; Lowboy is a 5th Wheel pull).
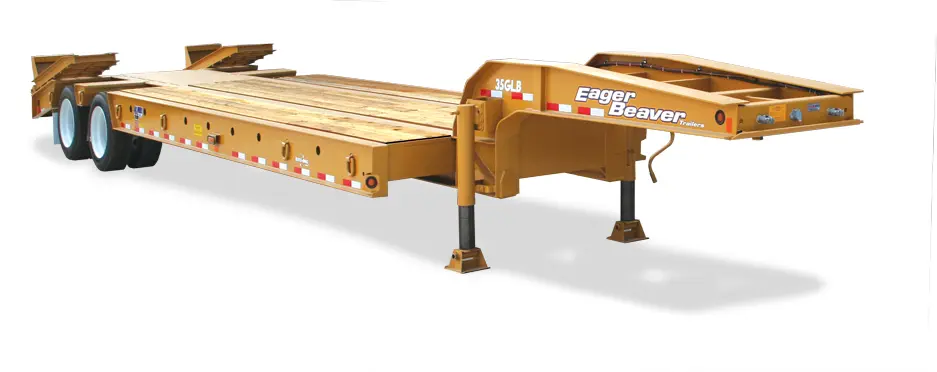
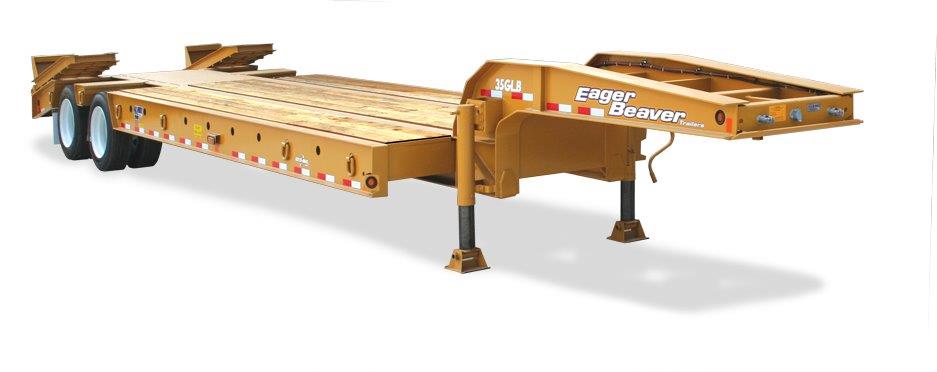
1. Tandem Axle Tag Mfg 2001 onward (with 400 Series ECU) or Tandem Axle Tag Mfg between 1998-2001 (with 472 series ECU & Relay)
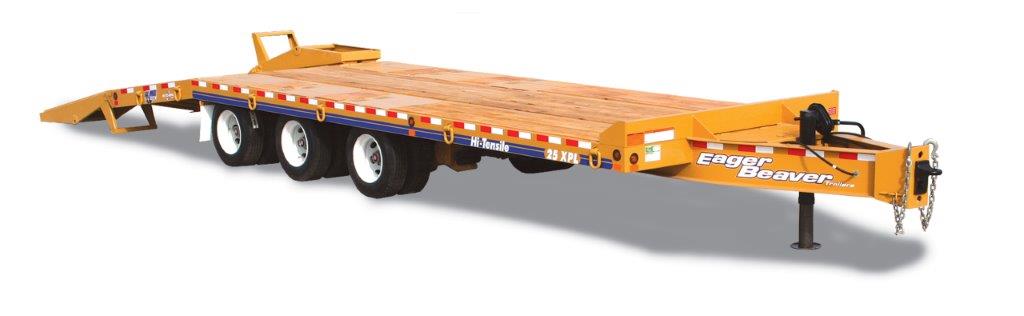
2. Tri-axle Tag: Model 25XPL (with lift axle) or Model 25XPT (no lift axle)
3. Tandem Axle Lowboy
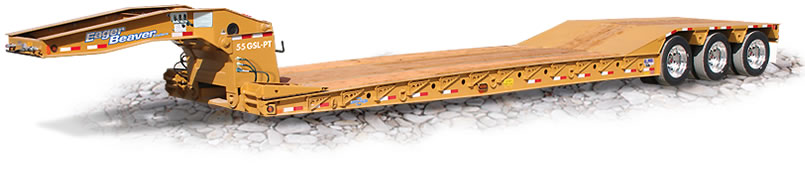
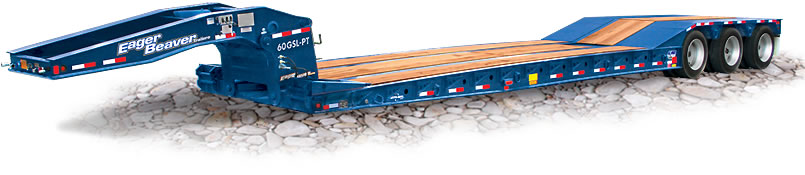
4. Tri-Axle Lowboy

I have an Air Brake Trailer with Anti-Lock Brakes (ABS) (MFG after January 1998) and my yellow ABS indicator light on the driver’s side of the trailer comes on and stays on when I apply the service brakes while the trailer is moving. What does that indicate?

A: It indicates the ABS feature of your service brakes is not working properly. Your service brakes will still work however, you may not have anti-lock braking. The ABS module has a test mode which can be used to determine the specific problem with the ABS system. Follow the procedure shown on the ABS Blink Test document.

I have an Air Brake Trailer with Anti-Lock Brakes (ABS) (MFG after January 1998) and when I start my truck, the amber ABS light on the rear driver side of the trailer comes on and then goes off. What does this indicate?

A: When power is supplied to the trailer (truck key placed in the ‘ON’ position), the trailer’s Electronic Control Unit (ECU) does a self-test and, upon satisfactory completion, will blink the amber ABS light on and then it will go off and remain off. If the amber ABS light remains on after self-test, there is a problem and the below ‘Blink Test’ procedure should be followed.

I have an Air Ride Suspension Lowboy with a manual Raise and Lower push-pull valve, adjustable air pressure valve, and air gauge. The operating decal is missing. How do I operate the manual Raise and Lower system?

A: Please see the attached operating instructions.

I have a problem with my pony motor. Whom should I contact for Warranty Service?

A: Warranties for our pony motors are handled by the motor manufacturer. Both Honda and Kohler engines come with a FULL 3-Year commercial use Warranty. Both Honda and Kohler have an extensive dealer network throughout N. America. You can find the nearest dealers on their websites:
1. Honda – https://engines.honda.com/dealer-locator
2. Kohler – http://www.kohlerengines.com/wheretobuy/landing.htm

I have a new lowboy trailer and I can’t get the gooseneck to detach. The hauling pin (‘C’ Hydraulic Spool Lever) goes down fine, I just can’t get it to retract. What is the cause and resolution?

A: When we manufacture our trailers and goosenecks, we intentionally design the mating surfaces between the neck and the Haul Pin where it passes through the alignment tray to a close tolerance fit. When extending the haul pin into the alignment tray lock position, full 3,000 PSI hydraulic pressure is delivered to ensure a positive lock. However, on retract (unlock), the hydraulic cylinder has an internal relief set at 550 PSI (plus/minus 75 PSI), which is a safety feature designed to protect the compression block cross bar from being damaged during retract in the event the cross bar is inadvertently left in the transport position (ie, not rolled out of the way). Accordingly, because the haul pin only has 550 PSI of hydraulic pressure on retract, it is possible that a brand new pin may fail to retract due to a close tolerance fit combined with minor galling where it mates with the alignment tray.

An effective solution for dislodging a stuck haul pin follows:

  1. First, apply the trailer spring brakes. Next raise the main lift cylinders, using the ‘B’ Spool Lever, which will raise the trailer off of the ground about 12 to 16 inches. Make sure the compression block cross bar is rolled out of the way.
  2. Raise the hauling pin ‘C’ Hydraulic Spool Lever and, at the same time, start lowering the trailer bed by pulsing (or bouncing) the ‘B’ Spool Lever downward. Again keep the ‘C’ Lever raised, while simultaneously, pulsing the ‘B’ Lever downward. This should release the pin.
  3. Once the pin is retracted and the neck is separated from the bed, put the haul pin in the extended position, allowing it to protrude from the bottom of the neck. Inspect the pin for galling and remove galling with a fine flat file or grinder.
  4. Next, inspect the haul pin hole in the bed alignment tray. You will observe a ¾” thick steel ring with a 2.5” ID center hole, through which passes the haul pin. Using a die grinder, remove any galling in the 2.5” ID hole.
  5. Next, concentrate on the front of the ring and remove approximately 1/16” to 1/8” of steel from the center hole at the front of the ring. This will provide the necessary clearance for smooth retract yet not affect the service life of the ring itself.
I just purchased an Eager Beaver Trailer with a Hydraulic Detachable Gooseneck. My tractor has a wet-line. What are the hydraulic Pressure and Flow requirements? What hydraulic oil and hydraulic fitting are used?

A: Please see Eager Beaver Trailers Service Bulletin # 9701.

I just purchased an Eager Beaver Trailer with Amber Strobe Lights in the tailboard. Where is the power source for the Strobe Lights?

A: Strobe lights are powered via the black wire in the harness per the Strobe Light schematic.

I just purchased an Eager Beaver Trailer and want make sure the truck wiring is compatible with the trailer. Are there wiring schematics for the SAE J560 trailer plugs?

A: Yes, here are the SAE J560 plug pin-outs for Electric and Air Brake Tags as well as Lowboys.
1. Tag, Pintle Pull: Electric Brake or Air Brake
2. Lowboy, 5th Wheel Pull: All Air Brake

The VIN Plate is missing from my trailer. How do I obtain a replacement VIN Plate?

A: For non-NY State titles follow this procedure: VIN Plate Non-NY. For NY State titled trailers, follow this procedure: VIN Plate NY State Only.